How to Draw a Tree: Trunk, Branches and Leafy Crown
Move past the lollipop tree with five steps: a flared trunk, forking branches, a cloud-like crown split into leaf clumps, then loose texture on the shadow side. Short notes cover a pine and a bare winter tree.
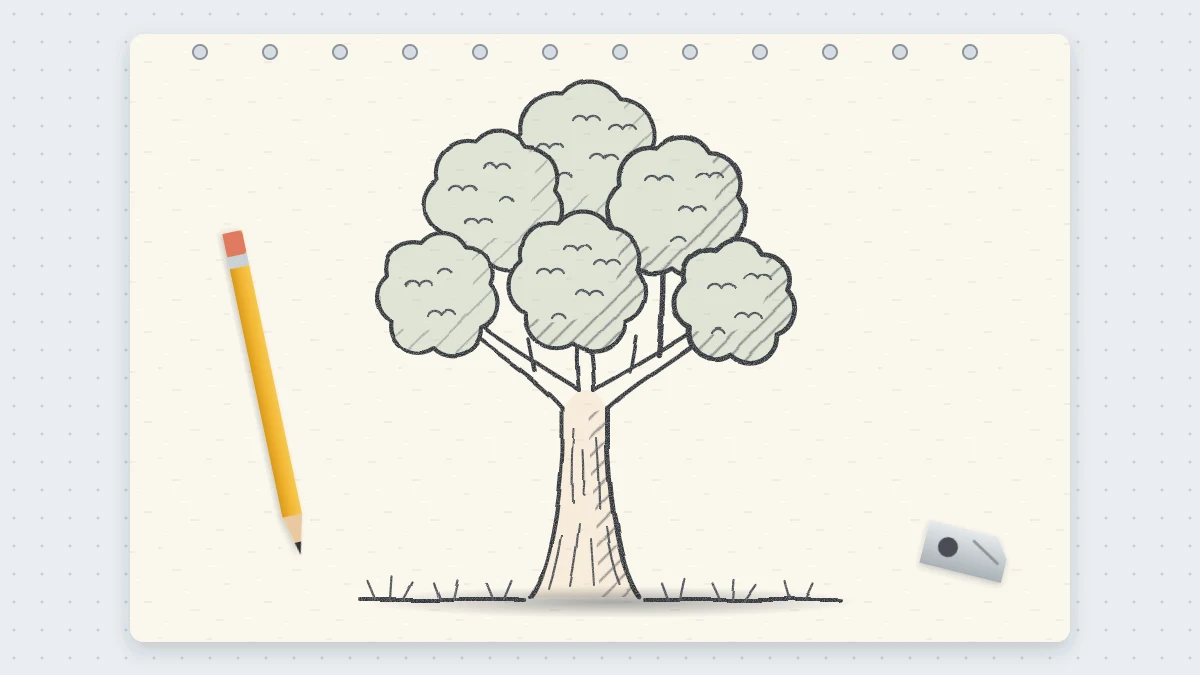
This drawing at a glance
What you need
- HB pencil
- 2B or 4B pencil
- Soft eraser
- Plain paper
- Scrap sheet to rest your hand on
The lollipop tree, a straight stick with a ball on top, is what most people draw from memory. Real trees are looser than that: the trunk spreads at the ground, the branches fork, and the leaves gather in clumps with gaps between them.
This guide on how to draw a tree builds a leafy tree in five steps, starting with the wooden skeleton and ending with leaf texture and bark. Shorter notes at the end cover a pine and a bare winter tree.
What You Need
An HB pencil for light construction lines, a 2B or 4B for the darker texture and shading, a soft eraser and plain paper. Softer pencils smudge more easily, so rest your hand on a scrap sheet once the darker marks go in.
Decide on the light before you start. In this drawing it comes from the left, so the right side of the crown and trunk will be darker.
Draw the Tree in Five Steps
Proportion check: the crown is about twice as wide as it is tall above the first fork, and the bare trunk below the branches takes up roughly a third of the total height.
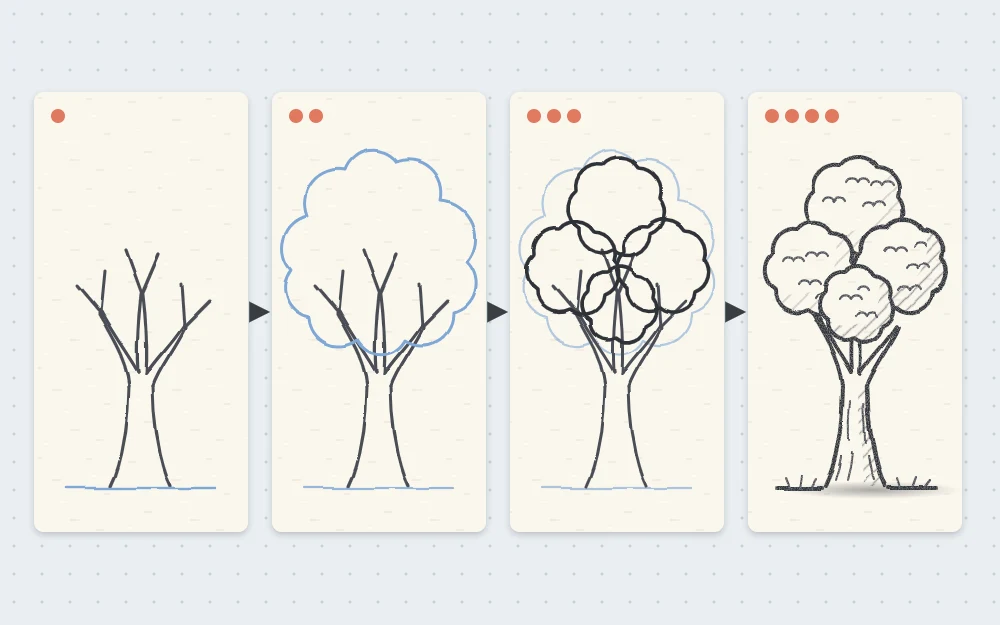
- Trunk. Draw two lines rising from the ground, about 0.75 in (2 cm) apart at the bottom and a little closer together higher up. Flare both lines outward where they meet the ground, so the base spreads like the foot of a wine glass. Make the trunk about 2 in (5 cm) tall.
- Branches. At the top of the trunk, split it into three main branches, each forking like the letter Y. One leans left, one leans right and one continues upward. Every branch is thinner than the part it grows from, and each fork gets thinner again. Stop when the branches are about as long as the trunk.
- Crown outline. Around all the branches, lightly draw one big cloud-like outline made of soft bumps. It should be wider than it is tall, reach a little past the branch tips and dip down on both sides so it hides the top of the trunk slightly.
- Leaf clumps. Inside that outline, divide the crown into four overlapping clumps, each a smaller cloud shape: one on the left, one on the right, one on top and one low in the middle. Leave a gap or two between clumps where a piece of branch shows through.
- Texture, shading and bark. With the softer pencil, draw loose scalloped marks, like small rows of the letter C or U on their sides, along the right-hand and lower edge of every clump. Keep the upper left of each clump almost empty. Add light shading over the right side of the crown and trunk, then a few broken vertical bark lines. Erase what remains of the big outline.
Why Clumps Beat a Single Ball
A crown drawn as one outline is a flat disc. Break it into clumps and each one becomes a small rounded form with its own light side and shadow side, which is exactly what makes a tree look deep.
Treat every clump the same way: pale at the upper left, darker at the lower right, darkest where it tucks under the clump above. That repeated pattern does more than any amount of leaf detail. The guide to simple shading techniques explains how to build those values in light layers.
Common mistake
Covering the whole crown with the same leaf marks. Even texture flattens the tree, so leave the light side nearly blank and crowd the marks into the shadow side.
Leaf Texture and Bark
From a distance you cannot see single leaves, only a ragged edge and patches of tone. The scalloped mark suggests that without drawing a single leaf.
- Vary the size of the scallops and turn them in different directions.
- Break the outer edge of the crown so it is bumpy and open in places, not one closed line.
- Add a few loose marks floating just outside the edge, like leaves that stick out.
- Darken the gaps between clumps, then let a branch cross them.
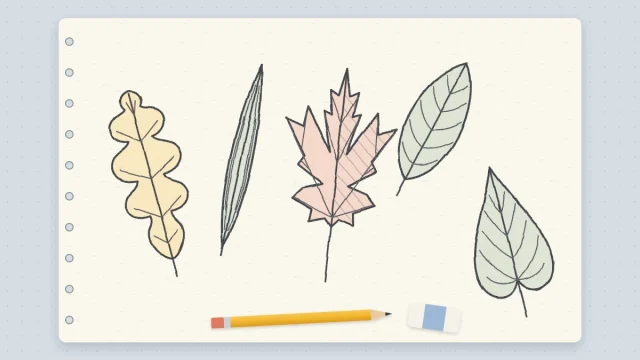
For bark, a few broken lines that follow the trunk are enough, closer together on the shadow side. Add one or two short curves where a branch joins. When you want leaves seen close up, on a low branch for example, the tutorial on drawing leaf shapes with veins covers them one at a time.
Two Other Tree Types
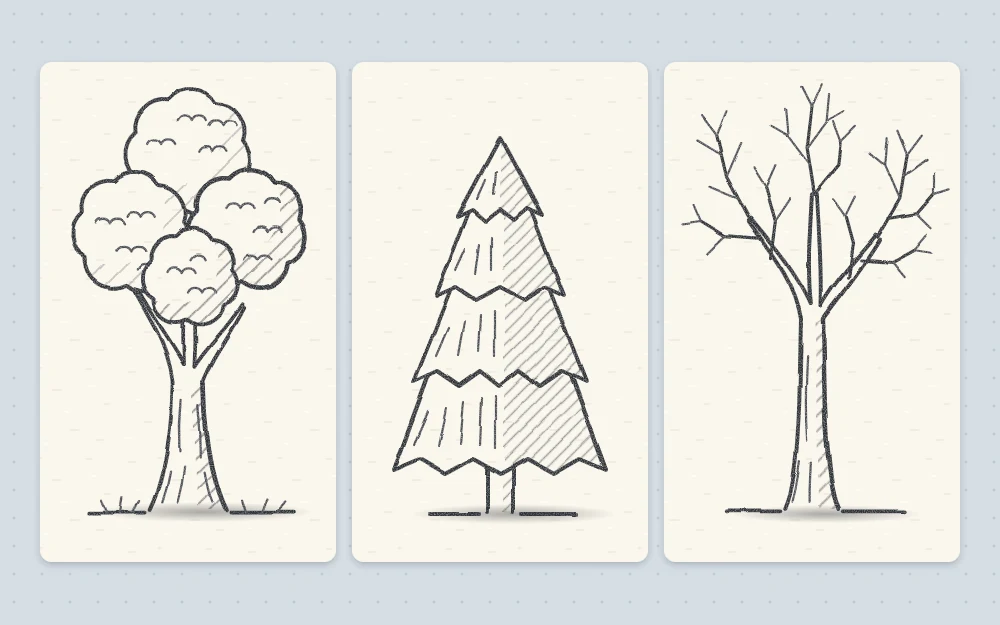
A Pine
Draw a thin vertical trunk line, then build the tree from stacked zigzag tiers. Start with a small pointed tier at the top and add wider ones below, each overlapping the one above, so the whole tree fits inside a tall triangle. Let the trunk show for a short distance at the bottom, and shade the right half of each tier.
A Bare Winter Tree
Repeat steps one and two, then keep going. Every branch forks again and again, getting thinner each time, until the outermost twigs are single fine lines. Aim for an overall rounded shape, and avoid making the two sides mirror images.
Troubleshooting
- The tree still looks like a lollipop. The trunk is too long and straight. Shorten it, flare the base and let branches show through the crown.
- The branches look like antlers. They stay the same thickness. Taper each one at every fork.
- The tree looks pasted on the page. Add a short line of grass at the base and a cast shadow stretching to the right.
- The crown looks muddy. Too much blending. Lift some tone from the light side with the eraser.
What to Try Next
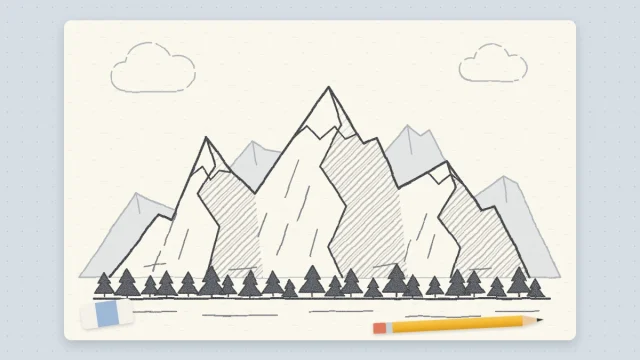
Draw the same tree leaning slightly, or with a wider, lower crown. Then make several small, pale versions and line them along the foot of a layered mountain landscape, where trees shrink and lose detail with distance. First trees are often too tidy; loosening up comes with practice.
Frequently asked questions
Should I draw the branches or the leaves first?
Branches first. The trunk and main forks act as a skeleton that tells you where the crown can reasonably sit and how wide it should spread. Once the leaf clumps are placed over them, erase the hidden parts and leave a few branch sections showing in the gaps.
How do I draw leaves on a tree without drawing every leaf?
Suggest them with loose scalloped marks grouped on the shadow side of each leaf clump and along its lower edge. Leave the light side almost empty and break up the outer edge of the crown. The eye fills in the foliage from the ragged edge and the patches of tone.
Why do my trees look flat?
Usually the crown is one even outline with the same texture all over. Divide it into three or four overlapping clumps, pick one light direction, and make each clump darker on the side away from the light. Deep tone in the gaps between clumps adds further depth.