How to Start Drawing: A Simple Plan for Complete Beginners
A calm starting plan for adults and teens who have not drawn since school: what to gather, how long to practice, what to work on in the first weeks and which subjects to pick first.
If the last thing you drew was in a school art room, the blank page can feel like a test you forgot to study for. It is not. Learning how to start drawing is mostly a matter of picking up a pencil, making some plain marks, and repeating a few simple habits until they feel normal.
This guide gives you a plan for the first few weeks: what to gather, how long to practice, what to work on first, and which subjects to choose. Each part points to a fuller guide when you are ready for it.
Drawing is a set of habits, not a gift
People who draw well are doing four ordinary things at once. Each one can be practiced on its own, and none of them needs talent to begin.
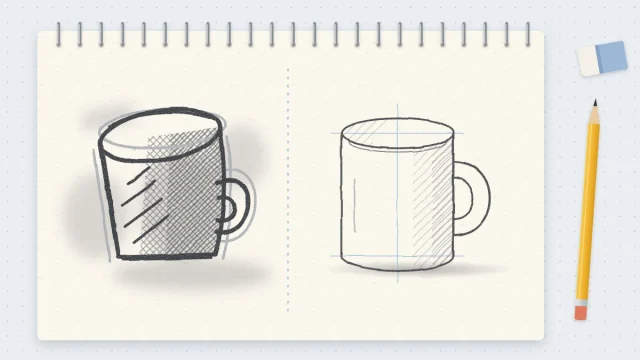
- Seeing shapes. A mug is a rectangle with an ellipse on top. A tree is a tall rectangle under a rough circle. Once you see the simple shape, the subject stops being intimidating.
- Controlling lines. A steady, light line that goes where you intended is a physical skill, like handwriting. It improves with repetition.
- Judging proportion. Proportion is the size of one part compared with another. Most “wrong” drawings are simply too wide, too tall, or have one part too big.
- Adding light and shadow. A few values, from light to dark, turn a flat outline into something that looks solid.
You will not learn these in one sitting, and you do not need to. The plan below takes them one at a time, in the order that makes each next step easier.
What to gather before your first sketch
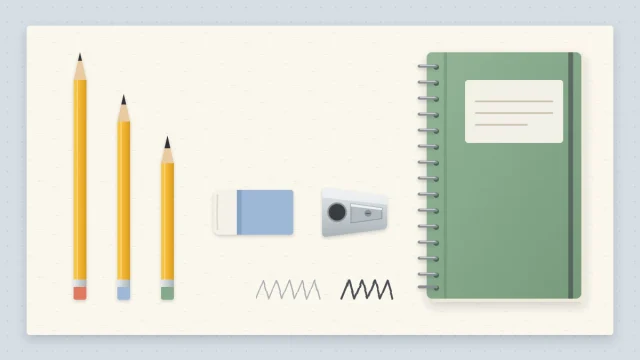
You need three things: a pencil, an eraser, and plain paper. An ordinary HB pencil, the everyday middle grade, is enough for the first week. A soft white eraser lifts light lines cleanly. Printer paper works well because you will not feel precious about using it up.
Later, a softer 2B pencil is useful for darker final lines and shading. If you would like to know what each tool does before you buy anything, the guide to drawing supplies for beginners covers the short list and what can wait.
How long and how often to practice
Short, regular sessions work better than one long one. About ten to twenty minutes on most days gives your hand frequent reminders, and it is easy to fit in before the day gets busy. A two-hour session once a week tends to end in tired, frustrated scribbling, followed by six days of forgetting.
Keep your paper and pencil somewhere visible. The fewer steps between you and the first mark, the more often you will sit down. Date each page and keep it, even the ones you dislike. Looking back after a month is the clearest way to see that your lines have changed.
Tip
Draw lightly at first. Light construction lines erase cleanly and can be corrected without leaving grooves in the paper. Save firm, dark lines for the end of a sketch.
A sensible order for the first weeks
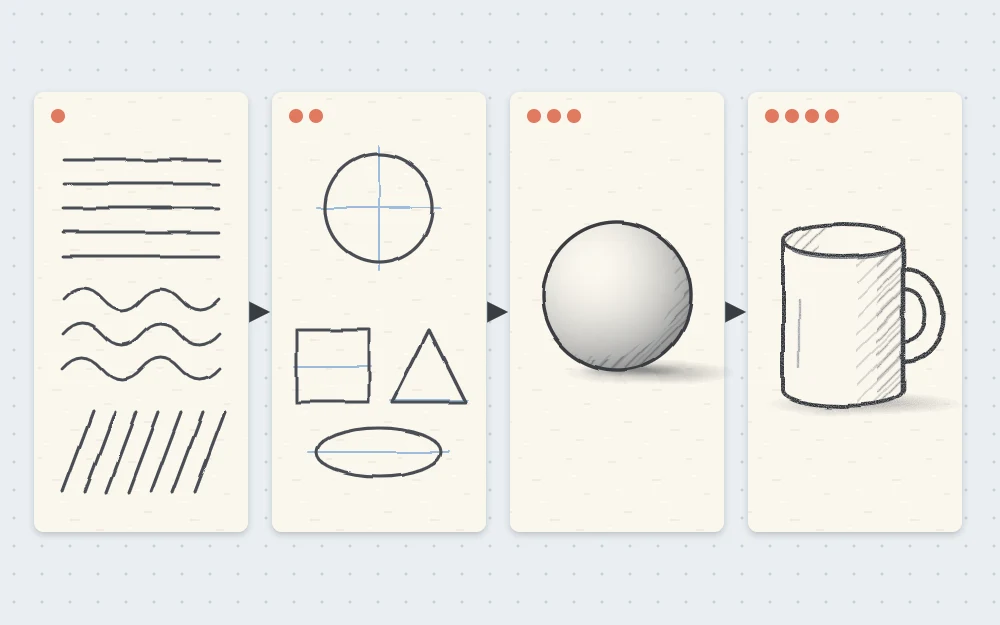
There is no single correct path, but this order means each stage uses what the one before it taught you. Treat the timings as rough guides and move on when a stage feels comfortable, not when the calendar says so.
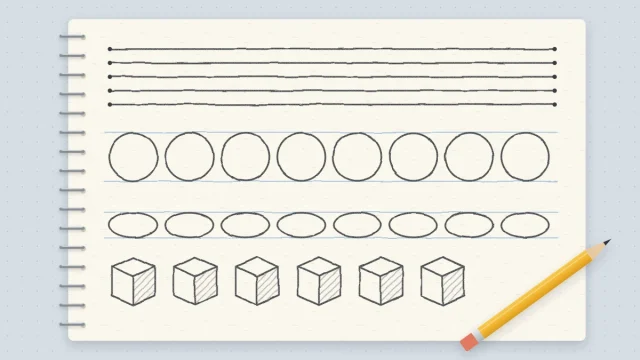
- Week one: lines. Fill pages with straight lines, curves and circles. The aim is a smooth, unbroken stroke rather than a perfect one. A set of drills for steadier lines gives this practice some structure.
- Week two: flat shapes. Draw circles, ovals, squares, rectangles and triangles, then combine them into simple objects. The guide to building sketches from basic shapes shows how a teapot grows out of a circle and an oval.
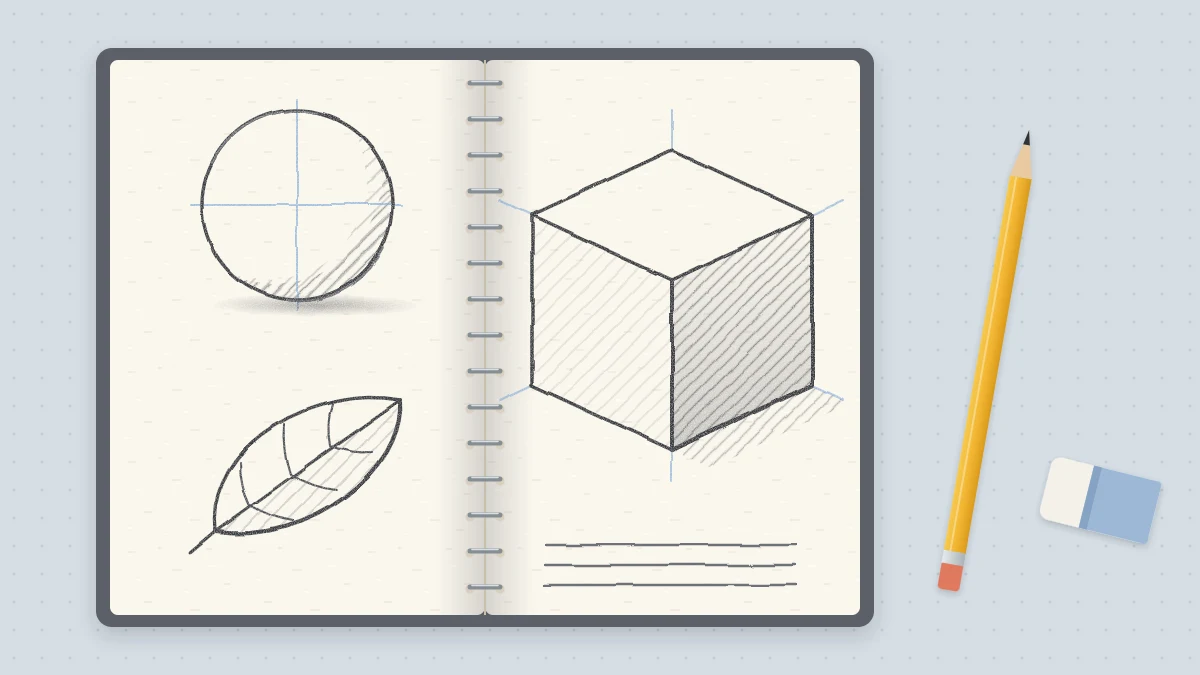
- Week three: light and shadow. Make a short value scale from pale gray to dark, then shade a ball so it looks round. One light direction is all you need to think about.
- Week four: a simple finished sketch. Pick one real object, block it in with light shapes, check its proportions, darken the outline and add a little shading.
Choosing your first subjects
Good first subjects are small, still and simple. Look for things with one or two obvious shapes and very little surface detail: a mug, an apple, a book lying flat, a key, a single leaf. They sit patiently on the table, and you can turn them to find an easier view.
Draw from a real object in front of you whenever you can. A real object lets you compare heights and widths, see where the shadow falls, and notice things you would never invent from memory. If you need more ideas sorted by where to find them, there is a list of easy things to draw around the house and outside.
Save faces, hands, pets in motion and busy street scenes for later. They are not forbidden, only harder, and a hard subject too early can convince you that you cannot draw when the real problem is the choice of subject.
What to expect from your early sketches
First attempts are usually uneven. Circles come out lumpy, lines wobble, and the mug leans to one side. That is the normal starting point, and it is what a hand looks like while it is learning a new movement.
Two habits help more than any tool. First, compare a sketch with your own page from last week rather than with finished artwork by someone who has drawn for years. Second, when a drawing goes wrong, name one specific thing: “the handle is too big” is useful, while “this is bad” is not. One clear correction per drawing adds up.
Your first session, step by step
If you want to begin today, here is a session of roughly fifteen minutes.
- Fill half a page with light straight lines and loose circles. Do not erase anything.
- Put a mug or an apple on the table in front of you.
- Sketch its biggest shape lightly, about 4 in (10 cm) tall, so there is room to adjust.
- Check one proportion: is it taller than it is wide, or the other way around? Correct the shape.
- Go over the lines you like with a slightly firmer stroke, then write the date in the corner.
That is a complete drawing session. Tomorrow, do it again with a different object, and the plan above will carry you from there.
Frequently asked questions
Am I too old to learn to draw?
No. Drawing relies on observation and hand control, and both respond to practice at any age. Adults often have an advantage in patience and in following a plan. Expect uneven early sketches, keep sessions short and regular, and compare your pages with your own earlier ones.
How long should a beginner practice drawing each day?
About ten to twenty minutes on most days is a sensible target. Short sessions keep your hand reminded of the movements and are easy to repeat. If you have more time and still feel fresh, carry on, but stop before tiredness turns your lines heavy and careless.
Should I learn to draw from imagination or from real objects first?
Start with real objects. A mug or an apple on the table lets you compare sizes, see where shadows fall and correct mistakes against something solid. Drawing from imagination becomes far easier later, once you have a store of shapes and proportions you have observed yourself.