Beginner Drawing Mistakes: 10 Common Problems and Easy Fixes
Ten habits that make sketches look stiff, smudged or lopsided, each with its cause and a simple fix, from pressing too hard to shading in one flat tone.

When a sketch looks stiff, smudged or lopsided, it is tempting to blame a lack of talent. The real cause is nearly always one of a small number of habits, and habits can be changed. Most beginner drawing mistakes are shared by almost everyone who picks up a pencil, which means the fixes are well known.
Here are ten common problems, grouped by where they show up, each with its cause and a fix you can try on your very next page.
Mistakes at the start of a sketch
1. Pressing too hard too early
Cause: You draw the first lines as if they were the final ones. Dark early lines dent the paper, refuse to erase, and lock you into your first guess.
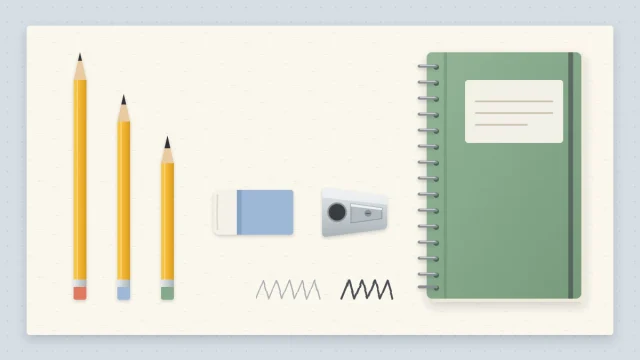
Fix: Begin with an HB pencil held loosely, farther back from the tip, and keep construction lines so light you can barely see them from across the table. Darken only the lines you are sure about, at the end.
2. Starting with details instead of big shapes
Cause: The interesting part, such as an eye or a handle, gets drawn first. Then nothing else fits around it.
Fix: Block in the whole subject as two or three simple shapes before any detail. If the big shapes are in the right place, details have somewhere to go. If they are wrong, no amount of careful detail will rescue the drawing.
Mistakes in your lines
3. Short, scratchy lines
Cause: Unsure of where the line should go, you feel your way along with many small overlapping strokes. The result is a hairy outline that looks nervous.
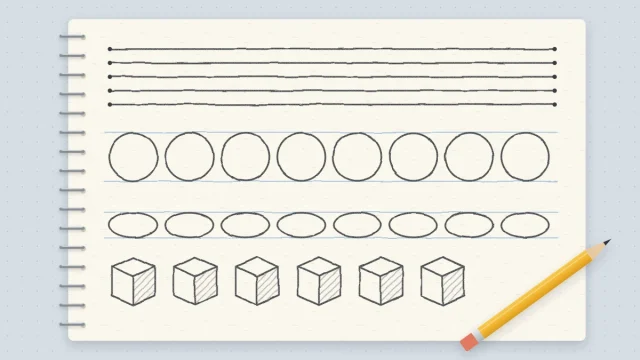
Fix: Hover the pencil over the paper and rehearse the stroke once or twice, then draw it in one smooth movement from the elbow or shoulder. A single line that is slightly off looks better than twenty that are roughly right. A few minutes of line control drills at the start of a session makes this much easier.

4. Outlines that are all the same weight
Cause: Every edge gets the same pressure, so the drawing reads as a flat diagram.
Fix: Vary the line weight. Make lines thicker and darker on the shadow side, underneath objects and where one form overlaps another. Keep them thinner and lighter on the side facing the light. This one change adds depth before you shade anything.
Mistakes in seeing
5. Drawing symbols from memory instead of looking
Cause: Your mind holds shortcuts: an eye is an almond with a dot, a tree is a ball on a stick. You draw the shortcut and stop looking at the actual object.
Fix: Look at the subject more than at your paper. Glance up every few seconds and ask plain questions. Is this edge straight or curved? Does it lean left or right? Drawing the empty gaps around an object, its negative space, is a good way to switch the shortcuts off.
6. Wrong proportions from not comparing sizes
Cause: Each part is drawn on its own, without checking it against the others, so the head ends up too big or the mug too tall.
Fix: Pick one part as your unit and compare everything to it. How many handle-heights tall is the mug? Is the subject wider than it is tall? The guide to measuring proportions by eye with a pencil walks through the method.
Tip
Turn your page upside down, or hold it at arm’s length, every few minutes. A fresh view makes a leaning side or an oversized part stand out immediately.
Mistakes in shading and keeping the page clean
7. Smudging with the drawing hand
Cause: The side of your hand rests on finished areas and drags soft graphite across the paper.
Fix: Slip a clean scrap of paper under your hand as a shield. If you are right-handed, work from the top left toward the bottom right; if you are left-handed, from the top right toward the bottom left. Leave the softest, darkest pencil until last.
8. Shading in one flat tone
Cause: The whole shadow area is filled with the same medium gray, so the form still looks flat.
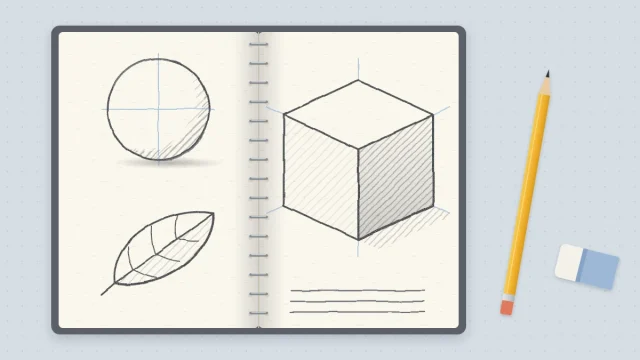
Fix: Aim for at least three values: the white of the paper for the highlight, a light gray, and a dark gray for the core shadow and cast shadow. Decide where the light comes from before you start, then build tone in light layers. The article on simple shading techniques shows how to do this on a sphere.
Mistakes in how you treat your own work
9. Erasing everything instead of correcting
Cause: One line looks wrong, so the whole drawing is rubbed out and begun again. The second attempt repeats the same error because the reference for what went wrong is gone.
Fix: Leave the wrong line in place and draw the better one beside it. Now you can see the difference and choose. Erase the weaker line afterward. Light construction lines make this painless, which is one more reason to keep early pressure low.
10. Comparing first sketches to finished art
Cause: You set a beginner page next to a polished drawing by someone with years of practice behind them and conclude you are bad at this.
Fix: Compare your work only with your own earlier pages. Date every sheet and keep it. First attempts are usually uneven for everyone, and the uneven pages are how the steadier ones get made.
Finding your own top three
You do not need to fix all ten at once. Lay out your last few sketches and check them against this short list.
- Can you see grooves or gray ghosts where lines were erased? Work on mistake 1.
- Is the outline hairy? Work on mistake 3.
- Does the subject look too wide, too tall, or tilted? Work on mistakes 2 and 6.
- Is the page gray and cloudy around the drawing? Work on mistake 7.
- Does the drawing look like a flat cut-out? Work on mistakes 4 and 8.
Choose the one that appears most often and give it your attention for a week. Then move to the next.
Building better habits
Mistakes fade fastest when the correct movement is repeated in small doses. A short warm-up of lines, shapes and a quick value scale covers several of the problems above before you even begin a real sketch. The routine in beginner sketching exercises takes about ten minutes and is built for exactly this.
Frequently asked questions
Why do my drawings look stiff?
Stiff drawings usually come from a tight writing grip, short strokes made with the fingers, and outlines of a single weight. Hold the pencil farther back, draw longer lines from the elbow or shoulder, and let some lines be thicker than others. Starting with loose, light shapes also helps.
How do I stop smudging my pencil drawings?
Rest your drawing hand on a clean scrap of paper so it never touches the graphite. Work across the page away from your drawing hand, save the softest pencils for the end, and lift eraser crumbs with a tissue or soft brush instead of wiping them with your palm.
Is it bad to erase a lot when drawing?
Erasing is fine as long as it follows a correction. Draw the improved line first, next to the faulty one, then remove the line you no longer want. Rubbing out the whole sketch removes the information you need to do better, and heavy erasing roughens the paper.