How to Draw 3D Shapes: Cube, Cylinder, Cone and Sphere
Turn flat shapes into solid forms: a cube from two offset squares, a cylinder and cone built on ellipses, and a sphere made round with tone. Clear steps and fixes for common problems.
This drawing at a glance
What you need
- HB pencil
- 2B pencil
- Soft eraser
- Plain paper
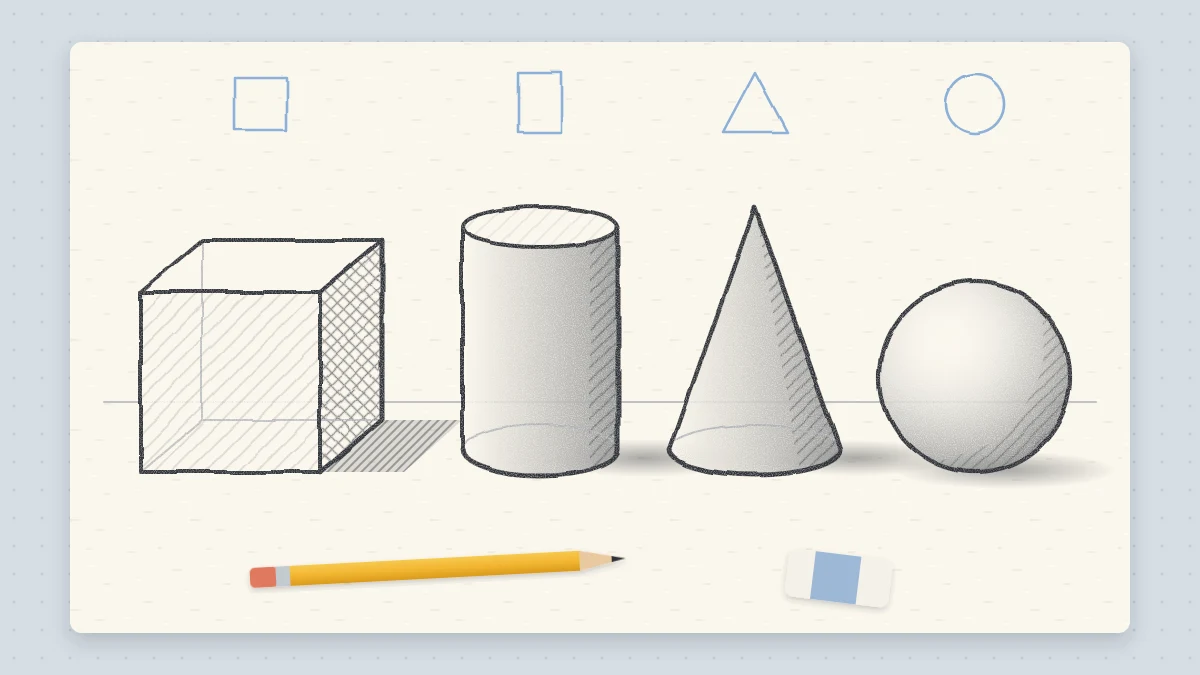
A square, a rectangle, a triangle and a circle sit flat on the page. Add a few well-placed lines and they turn into a cube, a cylinder, a cone and a sphere: the four solid forms hiding inside almost everything you will ever sketch.
Learning how to draw 3D shapes is the bridge between flat symbols and drawings that look as if they have weight. If you are comfortable with the five basic flat shapes, you already have every skill this needs. Keep an HB pencil for the light construction lines and a 2B for the final outline.
Cube: two squares joined at the corners
The simplest cube starts with a shape you already know.
- Draw a square. Lightly sketch a square about 2 in (5 cm) on each side. This is the front face.
- Draw a second square. Make it the same size, shifted up and to the right by about a third of the square’s width, so that it overlaps the first. This is the back face.
- Join the corners. Connect each corner of the front square to the matching corner of the back square with a straight line: top left to top left, and so on. All four joining lines should be the same length and lean the same way.
- Sort visible from hidden. Darken the nine edges you would actually see: the front square, plus the top and right side. Leave the three back edges very faint.
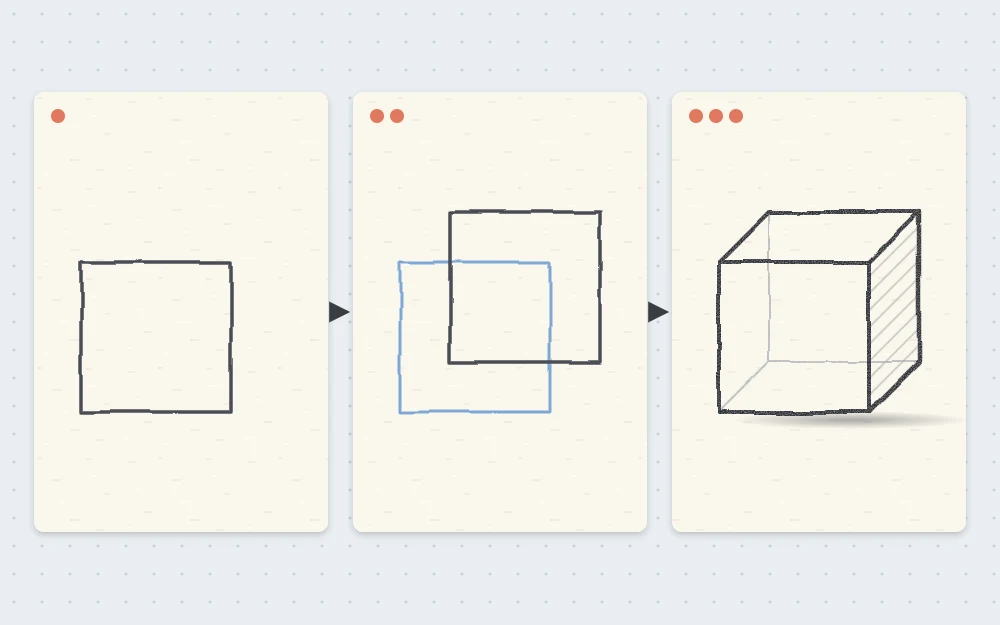
The Y-corner method
For a cube seen from a corner, draw a capital Y with three arms of equal length. The center of the Y is the nearest corner. From the tip of each arm, draw two lines parallel to the other two arms until they meet. You get three diamond-shaped faces and no hidden edges to manage.
Cylinder: a rectangle with ellipses
A cylinder is a rectangle whose flat top and bottom have been swapped for ellipses, which are circles seen at an angle.
- Draw the sides. Sketch two parallel vertical lines about 3 in (8 cm) tall and 2 in (5 cm) apart.
- Add the top ellipse. Draw an ellipse that spans the gap between the tops of the lines. Make it about a quarter as tall as it is wide.
- Add the bottom ellipse. Draw a full matching ellipse at the base, front and back, even though the back half will be hidden.
- Finish. Darken the whole top ellipse, the two sides and the front curve of the base. Leave the back half of the lower ellipse faint, and add light shading down one side.
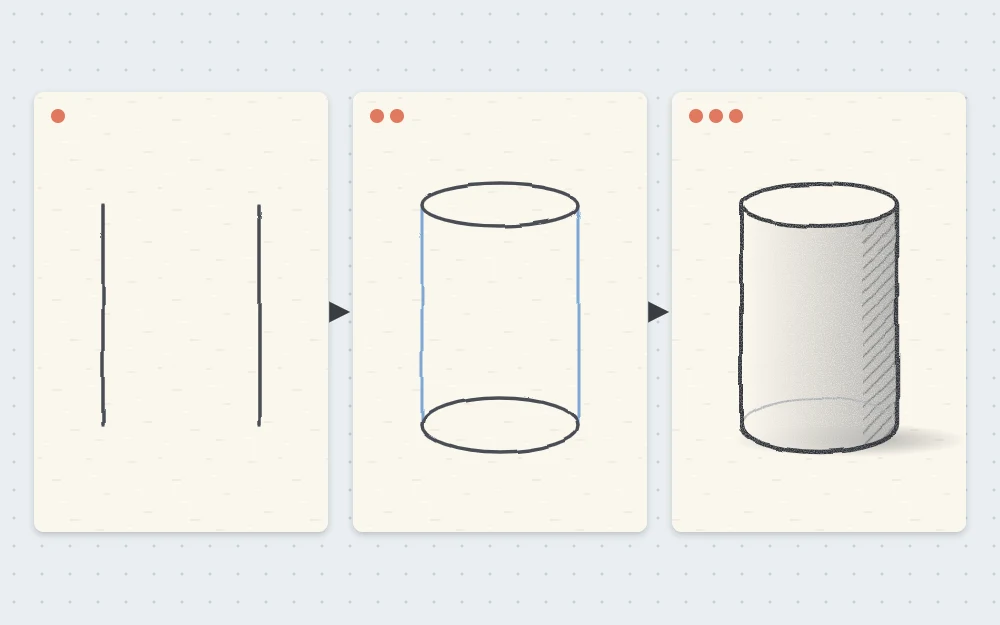
Why the lower ellipse is slightly rounder
Hold a glass at eye level and its rim looks like a straight line. Lower it and the rim opens into a wider and wider ellipse. The farther an ellipse sits below your eye level, the rounder it appears. On a cylinder standing on a table, the base is farther below your eyes than the top, so draw the bottom ellipse a touch rounder.
Common mistake
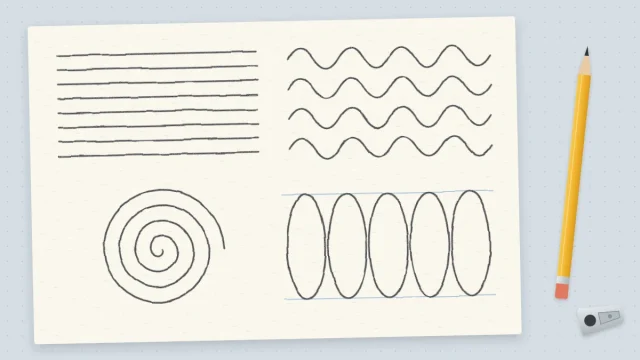
Ellipses with pointed ends, like an almond or a football. The ends of an ellipse are always curved. If yours look sharp, round the corners where the curve meets the sides.
Cone: a triangle on an ellipse
Draw a light vertical center line about 3 in (8 cm) tall. At its base, draw an ellipse about 2 in (5 cm) wide, centered on the line. Then draw a straight line from the top of the center line down to each end of the ellipse.
The sides should touch the ellipse at its widest points and blend into the curve without a corner. Darken the two sides and the front half of the ellipse, and leave the back half faint. If the cone seems to lean, check that the tip sits directly above the middle of the base.
Sphere: a circle plus shading
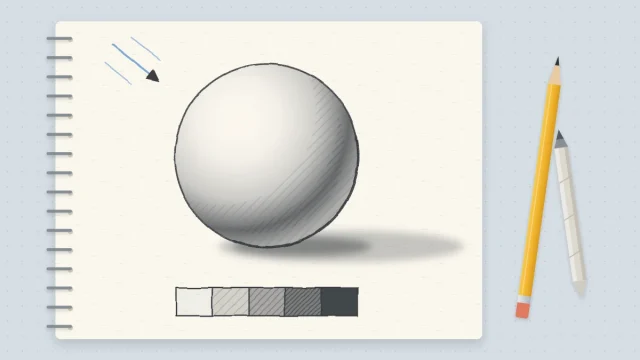
A sphere has no edges or corners to add, so its outline stays a plain circle. Tone does all the work: a pale area facing the light, a darker band on the far side and a shadow on the ground. The guide to shading a sphere in light layers covers each stage.
For a quick version without shading, draw a light ellipse across the middle of the circle, like an equator. It is enough to suggest a round surface.
Draw through the form
Notice that every method above includes lines you later hide: the back of the cube, the far half of each ellipse. This is called drawing through, and it is the best habit to take from this page. Sketching the whole form as if it were made of glass keeps the visible parts lined up. Draw those lines lightly so they erase cleanly or fade into the background.
Why far edges seem to converge
The two-square cube uses parallel joining lines, which is fine for small objects. In real life, edges that run away from you appear to draw closer together with distance, the way a long straight road narrows toward the horizon. This effect is called perspective.
For a more natural box, make the back face slightly smaller than the front. The joining lines will then lean gently toward each other, and the box will look as if it has depth.
Where each form hides in everyday objects
- Cube and box: books, houses, parcels, furniture. A chair drawn inside a simple box is far easier to keep straight.
- Cylinder: jars, candles, tree trunks, mugs. The same two ellipses are the secret to a coffee cup that sits flat on the table.
- Cone: party hats, funnels, pine trees, the tip of a sharpened pencil.
- Sphere: oranges, balls, beads, the body of a round teapot.
Practice ideas
Fill a page with small cubes, each with the back square offset in a different direction: up and left, down and right. Then stack a cylinder on a cube, or balance a cone on a cylinder to make a simple tower or rocket shape.
Early forms tend to come out a little lopsided, and that is normal. Turn the page upside down to spot the lean, correct it lightly and draw the next one.
Frequently asked questions
What is the easiest 3D shape to draw first?
Most beginners find the cube easiest because it uses only straight lines. Draw two overlapping squares and join the matching corners. Once that feels comfortable, move on to the cylinder, which introduces the ellipse, the curve that most everyday objects depend on.
Why does my cube look distorted or stretched?
The usual cause is a second square that is offset too far, which makes the side and top faces very long. Shift the back square by about a third of its width. Also check that all four joining lines are the same length and lean at the same angle.
Do I need to shade 3D shapes for them to look solid?
A cube, cylinder and cone read as solid from their edges alone, so shading is optional. A sphere is different: its outline is only a circle, so it needs tone, or at least a light curved line across the middle, before it looks round.